
What You'll Need
Leaven
10 g sourdough starter (100% hydration)
35 g water
5 g mild honey
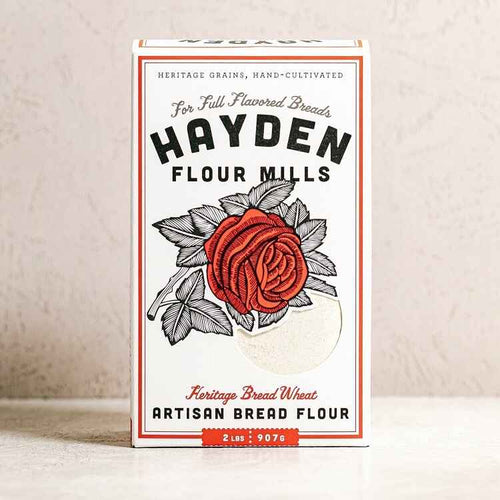
60 g Artisan Bread Flour
Scald
70 g whole wheat bread flour
70 g boiling water
Dough
110 g leaven
140 g scald
130 g whole milk, heated to 90°F
30 g mild honey
1 large egg
7 g fine salt
240 g Artisan Bread Flour
45 g unsalted butter, soft room temperature
Egg Wash
1 large egg yolk, plus a dash or two of heavy cream or milk
1 tablespoon sesame seeds (optional)
Directions
A note on timing: for the mildest flavor, mix and bake this dough the same day. If that does not fit your schedule, you can retard the dough in the refrigerator overnight after bulk fermentation, then shape and final proof it the next day before baking. If you are baking in the colder months, a proofing box set at 80°F will help this enriched dough keep pace. And if you have never shaped an enriched dough before, do not worry: it takes a little practice, but you will get the hang of their plump, perky shape.
-
About 8 to 12 hours before mixing the dough, prepare the leaven. In a large bowl, stir together the starter, water, honey, and flour until no lumps remain. Cover loosely with a lid and let it ferment at room temperature. The starter should at least double in size when it is ready. It will smell fragrant and yogurt-like.
-
When you prepare the leaven, make the scald. Place the flour in a small bowl and pour in the boiling water. Stir well to combine. When it is cool enough to handle, knead lightly in the bowl with your fingertips, until all the flour is hydrated and no lumps remain. Cover with a reusable bowl cover or plate and leave at room temperature until ready to mix the dough.
-
Add the leaven to the bowl of a mixer fitted with a dough hook. Break the scald into small pieces and add it to the bowl. Add the warm milk, honey, egg, salt, and flour to the bowl. Mix on medium-low, scraping down the sides as needed, until the flour is hydrated and the dough is shaggy, about 3 to 5 minutes. Turn off the mixer and let the dough rest in the bowl for 15 to 20 minutes. Add the butter to the dough and mix on medium speed until completely incorporated and the dough begins to pull away from the sides of the bowl, about 5 to 7 minutes. If the butter resists being incorporated, stop the mixer and stretch the dough over the butter chunks before resuming. Once the butter is incorporated, the dough will be very soft. Cover the bowl with a reusable bowl cover or plate and bulk ferment at a warm room temperature (80°F) for 2 and a half hours, or until it has increased in size by about one third and appears puffy. Perform a stretch-and-fold every 45 minutes during this time.
-
Line one 13 by 18 inch sheet pan with parchment paper and dust well with fine cornmeal or semolina. Set it aside.
-
Transfer the dough to a lightly floured work surface. Using a bench knife, divide the dough into eight pieces, about 90 g each. Pat each piece into a rough square shape and then pull the corners to the center. Turn the dough piece over in one hand and with the other, tuck the dough into the middle of the bun while pinching and sealing with your other hand, creating a round shape with some tension across the top. Place the bun on the work surface and cup your hand over top. Finish rounding the bun on the counter, rolling it with a circular motion. Space the shaped buns evenly on a sheet pan, with at least 3 inches between each. Cover with a dry tea towel, then place another sheet pan on top or wrap loosely with plastic wrap.
-
Final proof the buns at a warm room temperature (80°F) for about 2 1/2 to 3 1/2 hours, or until they have doubled in size. When they are ready to bake, they will appear puffy and will feel pillowy to a gentle touch. When in doubt, give them an extra 15 minutes of proofing time.
-
Preheat your oven to 400°F.
-
Whisk together the egg wash and, using a pastry brush, apply a light coating to the tops of the buns. Sprinkle with sesame seeds, if using.
-
Uncover the proofed buns and transfer them, still on the sheet pan, to the oven. Bake for 18 to 20 minutes without steam, rotating halfway through. The buns are done when the tops are golden, and the bottoms have browned slightly.
-
Remove the buns from the oven and transfer to a wire cooling rack. Cool before slicing and toasting or serving. Store in a covered container at room temperature for up to 3 days or in the freezer for up to 1 month.
Makes 8 buns.
Recipe contributed by Sarah Owens.