
Start With the Crust
By Hayden Flour Mills · September 9, 2026 · 5 min read
You already have a crust in mind, even if you have never said it out loud. Maybe it shatters when you tear the loaf. Maybe it is deep brown and thick enough to crunch. Maybe it is soft enough to hold a Tuesday sandwich without a fight.

There is no single perfect sourdough crust, and that is the good news. A baguette wants thin and shattery. A country miche can carry a dark, substantial crust. Sandwich bread wants tenderness. And when you bake with heritage and ancient grains, the grain itself becomes part of that decision.

Before you touch the oven dial, picture the finish. What do you want the crust to look, sound, and feel like when you cut in? And how are you planning to serve it? A loaf headed for soup wants something different than one headed for a lunchbox sandwich. Then make two choices: pick a flour that leans in that direction, and adjust your bake to carry it the rest of the way.
Your crust starts with your flour
Most crust advice starts in the oven. We would start a few steps earlier: in the mill.
Heritage and ancient grains are what we love, and we have never met a grain that did not have something to say. Each brings its own flavor and personality to a dough, including the kind of crust it naturally leans toward.
If you want a thin, light, crispy crust, start with Better Bread Flour. Its high-protein content provides the strength and structure you want in a country loaf or baguette, while just enough stone milled grain brings the flavor and character we love.
For something softer and more tender, move toward All Purpose Flour. White Sonora is a naturally lower-protein wheat with a softer character, making this blend especially at home in pan loaves and sandwich breads. And because it bakes up surprisingly light in color, you get the flavor of stone milled whole grain without the darker loaf some picky eaters expect from whole wheat.

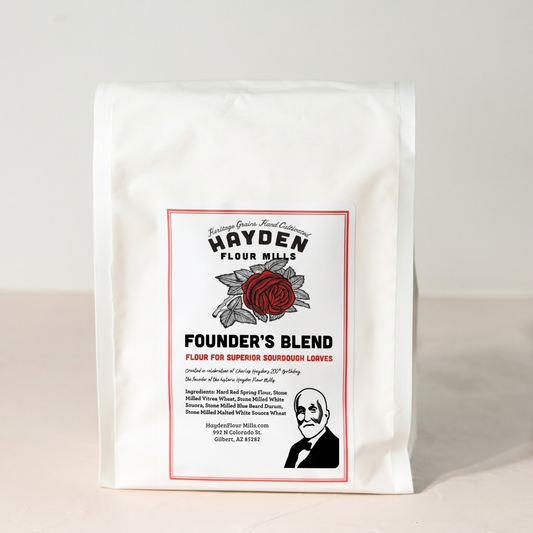
Then there is Founder's Blend, a perfect choice when you want a crust with serious color. Malted White Sonora provides sugars that encourage browning in the oven, helping create a deeply golden, caramelized crust. This flour wants to show off a little.
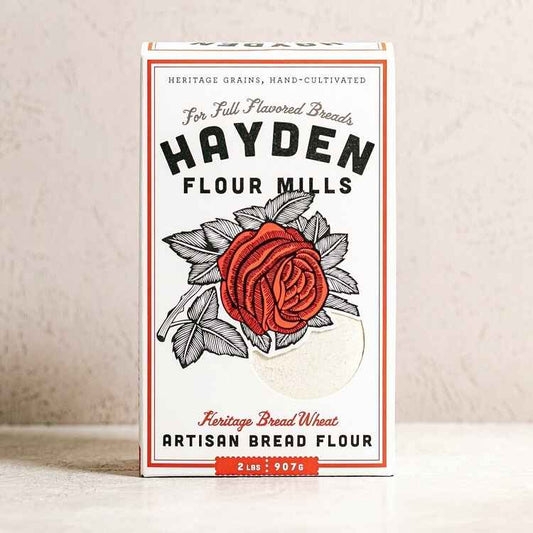
At the heartier end is Artisan Bread Flour, with more of the texture and character we associate with stone milled grain. It naturally lends itself to a more substantial, deeply flavored crust, the kind that becomes part of the experience of eating the bread rather than simply holding it together.

Keep in mind, the flour sets a direction, not a destination. You cannot talk a grain out of its own character, but you can decide whether to lean into it or steer the other way. Steam, hydration, fermentation, time, and temperature are all yours to work with, and we will get into exactly how to use them next.
Now dial in the crust
Three levers do most of the work, and you can pull them in any combination.
Lever one: steam decides when the crust sets
Steam keeps the surface of the dough soft and flexible early in the bake. That delays the moment the crust locks in, which gives your loaf room to spring, and it gelatinizes the surface starches, which is where that glossy sheen comes from. Once the steam is gone, the dry oven takes over: setting, browning, drying.
Crust thickness is decided by how much moisture the surface loses, so the covered phase decides when drying starts and the uncovered phase decides how far it goes.
If you bake in a Dutch oven, you have more control here than you might think. Most sourdough recipes land in the same neighborhood: about 20 minutes with the lid on, then 20 to 25 with it off. Call that your home base. From there, the only thing you are changing is when the lid comes off.
For a thinner, crisper crust, extend the covered phase to 25 or 30 minutes and take the same amount off the uncovered phase. For a thicker, crunchier crust, uncover at 15 minutes and let the loaf spend longer in dry heat.

Lever two: know when to stop
Pull the loaf when the crust is a deep, even brown and the center reads 205°F to 210°F. That is a finished loaf. Every additional minute past it is time the crust spends drying out, and that is where a good crust turns into one you have to saw through.
Lever three: hydration and fermentation set your starting point
These two get decided long before the oven, which is exactly why they are easy to overlook.
Higher hydration means more water in the dough to give up during the bake, so the crust stays thinner and more brittle. If yours keeps coming out thick, add five percent more water on the next loaf and see what changes.
Fermentation matters just as much. Underproofed dough gives you a dense loaf with a noticeably thicker, harder crust, because it never got the lift it needed before the heat arrived. Cold proofing nudges the crust thicker too. If you want a more delicate crust, try a same-day proof and compare.

A few more things to try
Bottom too dark or too hard? Move the Dutch oven higher in the oven, slide a baking sheet onto the rack below it to shield some direct radiant heat, or set the Dutch oven on a baking stone or steel with an insulating layer, depending on your setup.
Want a softer sandwich crust? Bake in a loaf or Pullman pan. A Pullman lid traps moisture and limits direct heat, which can produce a much thinner crust. Fat, dairy, eggs, and sugar will also push a crust toward softness and away from the classic lean artisan crunch.
One more trick for a thinner crust: drop two or three ice cubes into the pre-heated Dutch oven right after the loaf goes in, along the edge of the parchment rather than on the dough. They turn to steam immediately, keeping the surface soft and the loaf rising longer.

The grain sets the direction, you do the rest
Stone milled flour brings more variables into bread baking, and that is part of the fun. Different wheats bring different strengths, flavors, colors, and textures to a loaf. Rather than trying to make every flour behave the same way, start with the loaf you are craving, choose the grain that leans that direction, then let steam, time, and hydration do the rest.
More to explore: Feed Your Starter Right · Keeping your Flour Fresh