What You'll Need
Tools
Glass jar with lid
Kitchen scale
Ingredients
First Mix
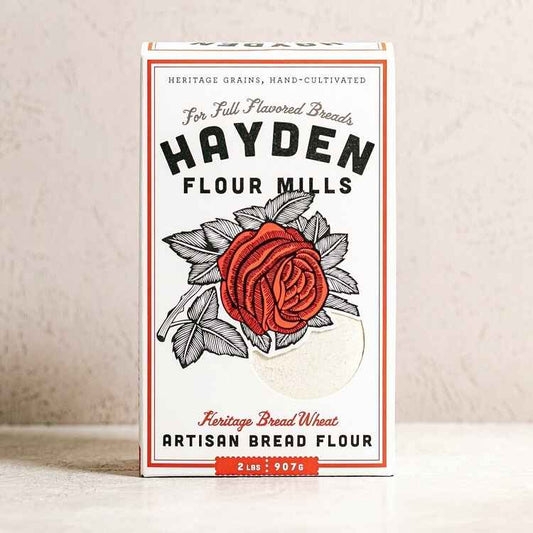
- 40 grams Artisan Bread Flour
- 40 grams Whole Rye Flour
- 80 grams warm water
Regular Feeding
- 25 grams reserved starter
- 60 grams Artisan Bread Flour
- 20 grams Whole Rye Flour
- 80 grams warm water
Q&A
What is a sourdough starter?
A sourdough starter is a symbiotic relationship between wild yeast, bacteria, and the starches in wheat flour. The community of microbes feeds on the sugars (carbohydrates) in the flour, producing carbon dioxide gas which gives rise to your dough and imparting that distinct sourdough flavor that we all love. If cared for properly, your starter can last for generations.
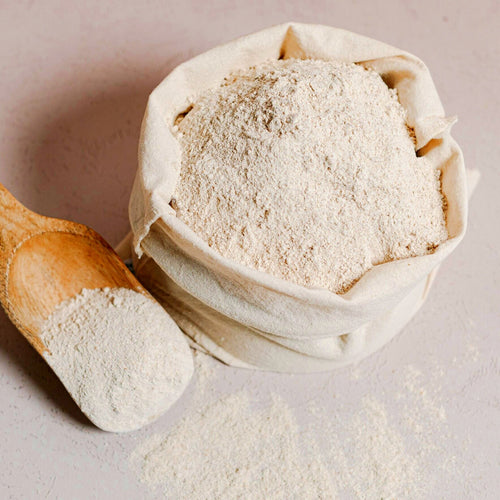
Why this combination of flours?
Our stone milled whole grain flours bring added nutrients and microbes, providing faster fermentation for your starter. Artisan Bread Flour offers a boost of protein and flavor and Rye is naturally rich in enzymes, nutrients, and microbes to help your starter quickly convert sugars for faster, more efficient fermentation.
What can I do with sourdough discard?
You can put your sourdough discard to good use making pancakes, waffles, or quick breads. Just search "sourdough discard recipes" on the Internet to start exploring!
Where can I get help?
Join our thriving community of bakers to get your questions answered, share pics of your beautiful loaves,and more at Homecook Homebase! You can also reach out to us at info@haydenflourmills.com.
Directions
Step-by-Step Instructions
Day 1: Mix
Using your kitchen scale, weigh out the ingredients below. Stir together until a slurry is formed. Cover with a kitchen towel and set in a warm spot in the kitchen.
- 40 grams Artisan Bread Flour
- 40 grams Whole Rye Flour
- 80 grams warm water
Day 2: Stir
Give your new starter a good stir - the community of microbes love oxygen. You may start to see bubbles at this stage. No bubbles? No worries - your starter just needs more time.
Day 3: Discard & Feed
Discard all but 25 grams of your starter. To that, using your kitchen scale, weigh out the ingredients below. Stir together and cover with a kitchen towel, and set in a warm spot in the kitchen.
- 25 grams reserved starter
- 60 grams Artisan Bread Flour
- 20 grams Whole Rye Flour
- 80 grams warm water
Days 4-6: Repeat Day 3 Feeding
Repeat Day 3 to feed, stir, cover, and place stater in a warm spot in the kitchen.
Day 7: Feed & Check for Bubbles
First, check for bubbles. Repeat Day 3 to feed, stir, cover, and place stater in a warm spot in the kitchen.
No bubbles? Continue to repeat Day 3 (maybe for a few more days) until you have a strong sourdough starter full of bubbles.
Day 8 (or after your starter is full of bubbles): Store in Fridge
Once your starter is full of bubbles, congratulations! It's time to name your new, active starter. You can either choose to make your first loaf of bread with your starter or place it in the fridge and allow it to go dormant until you're ready to bake.
Every 7 Days: Feed
Every week, be sure to pull your starter out of the fridge and follow instructions under Day 3 to feed your starter. Allow it to set in a warm spot in the kitchen for 4-6 hours to allow the starter to become active and form bubbles again. Then you can place it back in the fridge for another week.
*Recipe contributed by A Sourdough Story *